 How Can We Help?
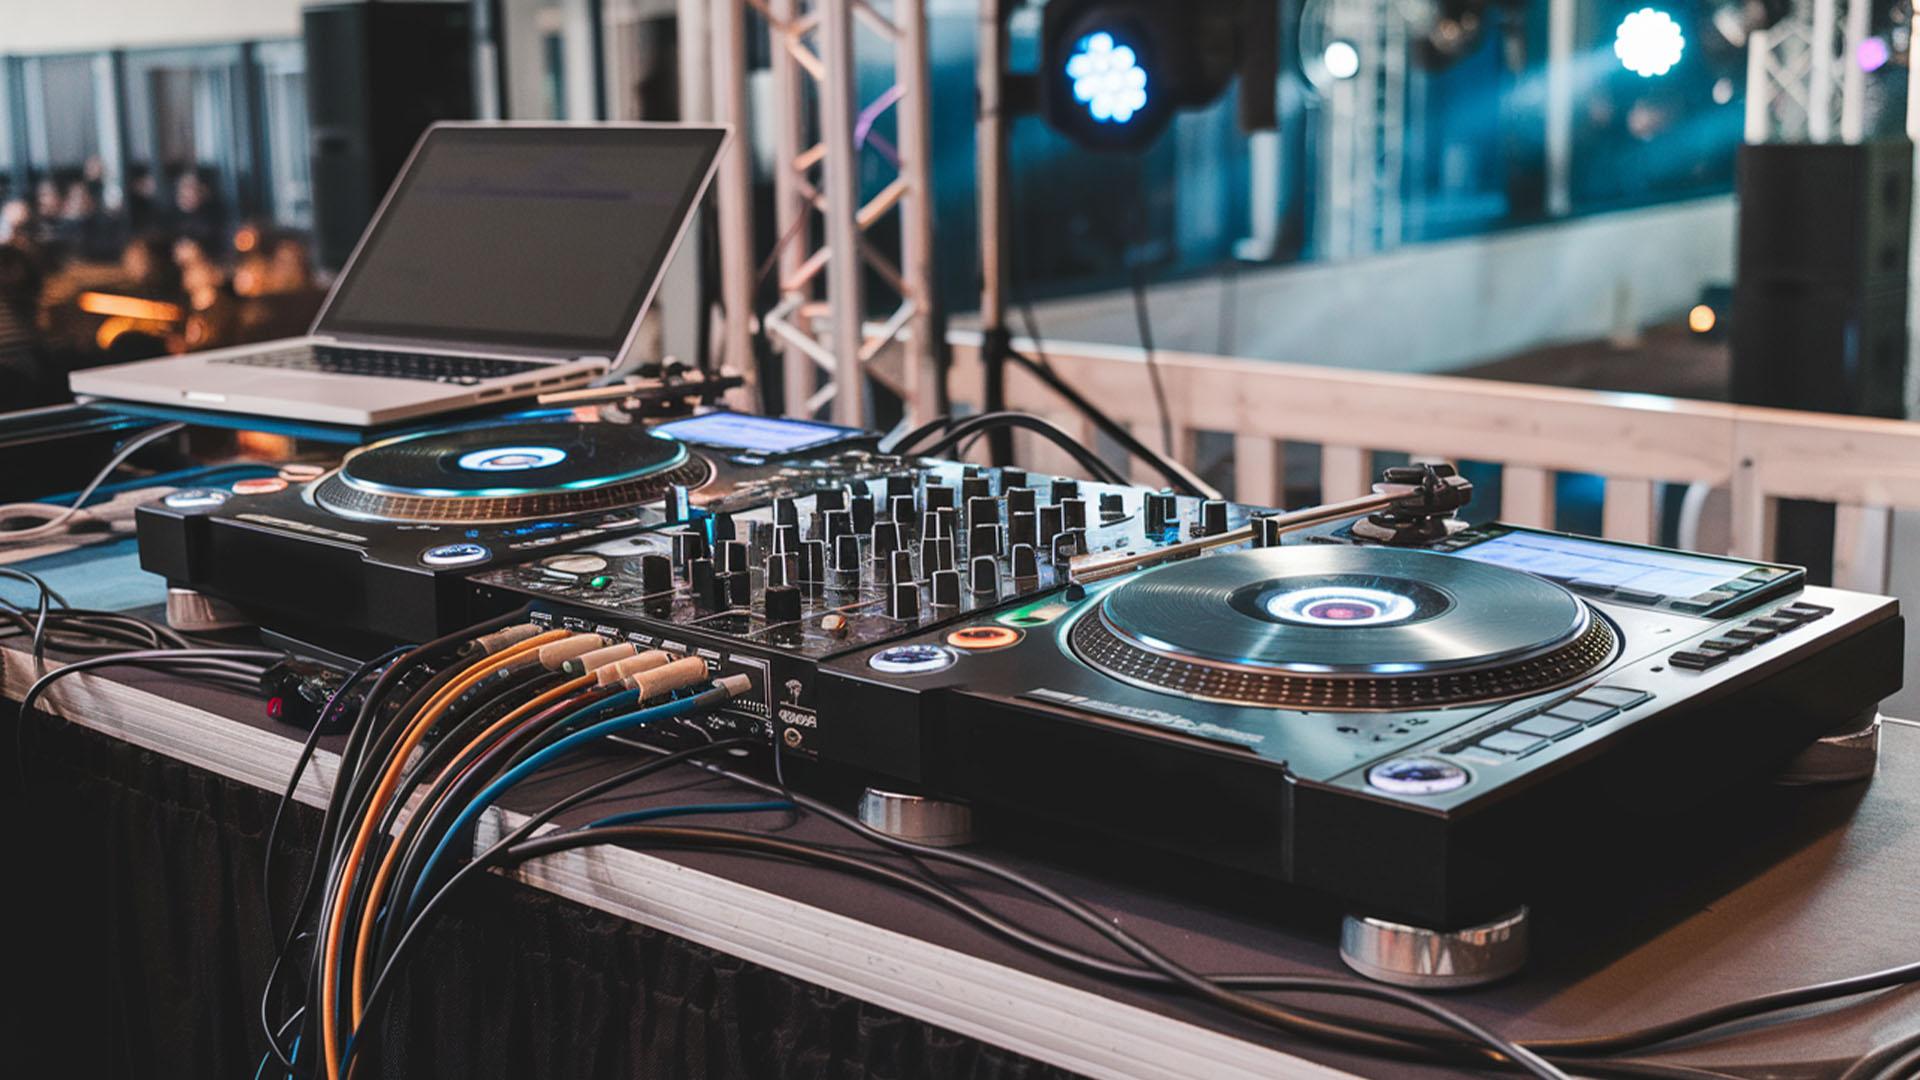
Whether you're a mobile DJ, event tech, or lighting pro, one thing separates the amateurs from the pros: clean, efficient cable management. Not only does a well-organized setup look better, but it also prevents tripping hazards, equipment failure, and stress during showtime. In this guide, we'll walk you through the basics of cable management to help you master cleaner, safer setups that impress every time.
Why Cable Management Matters
A chaotic tangle of cables isn't just unprofessional—it's a liability. Here's why managing your cables should be a top priority:
- Safety: Loose cables can cause guests (or you!) to trip, leading to injuries or damaged gear.
- Reliability: Tangled or kinked cables can wear out faster and cause connection issues.
- Professionalism: A clean setup reflects attention to detail and can help you win more gigs.
- Efficiency: Proper labeling and routing can save you time during setup and teardown.
Step 1: Choose the Right Cables
Start with quality, appropriately sized cables. Avoid going too long unless absolutely necessary—excess slack can become a trip hazard and clutter your station.
I DJ Now stocks a full range of professional-grade audio, power, and lighting cables from trusted brands. Look for:
- Low-noise shielded audio cables for clean signal flow.
- Heavy-duty power cables with proper grounding.
- DMX cables are rated explicitly for lighting control (not mic cables!).
Step 2: Route with Purpose
Always plan your cable paths before you plug anything in. Ask yourself:
- What's the shortest path that avoids walkways?
- Can I run this cable under a table, behind a speaker stand, or along a wall?
- Do I need to cross a walkway? If so, how can I protect that cable?
Use gaffer tape to secure cables to the floor—never duct tape, which leaves residue and doesn't hold up well. For larger events, consider cable ramps to cover areas with heavy foot traffic.
Step 3: Label Everything
Labeling your cables might seem excessive, but it pays off—especially when tearing down at 2 AM or troubleshooting mid-gig.
Tips:
- Use color-coded shrink wrap or cable tags.
- Label both ends of each cable with the same identifier (e.g., "Mixer L Out" or "Par 1 DMX In").
- Keep a roll of white electrical tape and a Sharpie in your gig bag for emergency labeling.
Step 4: Use Cable Organizers
Here are some must-have tools for tidy setups:
- Velcro cable ties: Great for wrapping and reusing cables.
Step 5: Master the Coil
When breaking down your setup, never just wad cables into a bag. Learn the over-under coil technique—it prevents kinks and preserves cable integrity.
Bonus tip: Use a cable reel for long runs, such as power or DMX, to keep things fast and efficient.
Step 6: Have a Backup Plan
Bring extras—cables, ties, labels, and tape. If one goes down, you'll be glad you planned.
Final Thoughts
Your setup says a lot about you. Clean, secure cable management makes your gear perform better and shows your clients that you're a true professional. Whether doing a small wedding or a whole production stage, a little extra time managing your cables can make a huge difference.
Need help choosing the right cables or organizers? Visit an I DJ Now showroom or shop online—our team is ready to help you build a gig-ready setup that's safe, smart, and stage-worthy.